

Risen from the ashes
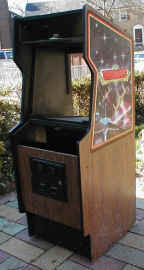
Since I was a kid in the early 80's, my favorite game was always Phoenix. Whenever I went into an arcade, Phoenix was the first game I would look for. When I got into arcade collecting as an adult, I found while Phoenix was my favorite game, the truth was that the company that made Phoenix - Centuri, made very poor quality machines. This simply meant, that after almost 20 years since Phoenix came out, there were no Phoenix machines in truly beautiful condition. Centuri cabinets had a design flaw that made them unstable, the marquee paint was poor quality and would flake and peel after a few years. The control panels have a sharp front edge that would crack and peel. I searched and searched for a clean machine only to realize they don't exist. So, it was time to restore one to factory new condition.
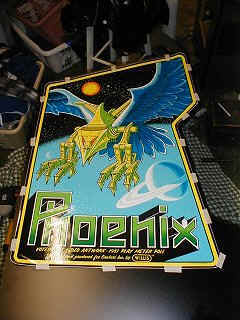
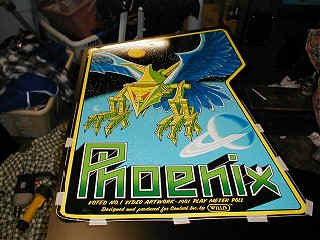
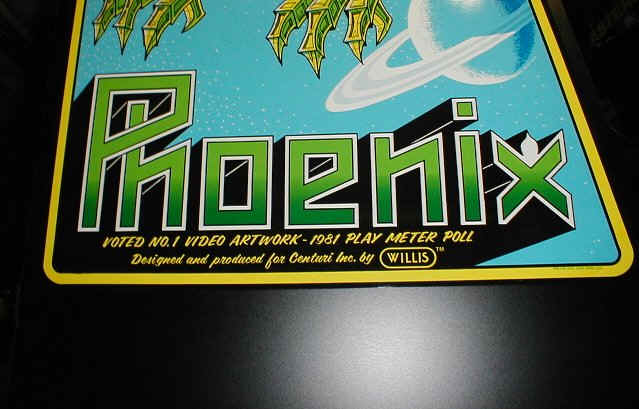
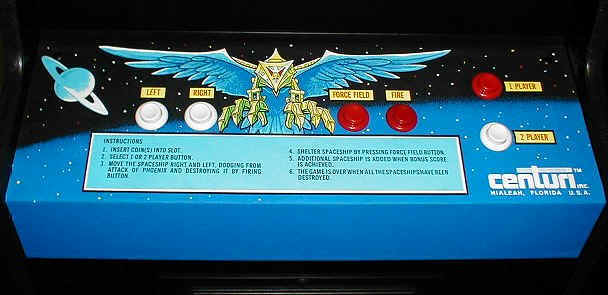
I began by restoring a phoenix marquee that only had cracking in the black portions of the artwork. This took a very steady hand and many hours of work. The result was worth it, the marquee came out beautiful. Next, I was very fortunate to find a new NOS control panel overlay. I paid entirely too much for it but it is flawless and very hard to come by, so WTF. Some time later, a friend of mine called me with the most amazing find, an NOS side art from a Video Game trade show in 1981 was up for auction on e-bay. Phoenix won Video Game Artwork of the Year in 1981 and Centuri released special side art with the bragging rights printed along the bottom. I won the auction and now I just needed the other side. Sure enough, as luck would have it, the same special edition side art showed up on ebay (from a different seller) for the other side. Needles to say, price was no longer an issue, I won the auction.
This is when things got tough. I needed a clean Centuri cabinet that was worthy of this very cool side art. I searched and searched with no luck. I drove all over to look at potential candidates only to be disappointed each time. I ended up purchasing a Pleaides machine from a friend that was in 9 out of 10 condition. I had it in my yard under a tarp while I was deciding on my plan of attack. We had some bad weather and the box started to deteriorate. After looking the machine over closely, I just couldn't use this box. I knew what I had to do. I had to make a new cabinet to exact factory specifications. This is how I did it...
I took this Pleaides cabinet and disassembled it piece by piece. The goal was to use each of the pieces as templates for the creation of an exact replica.
The Donor
Your death was not in vain...
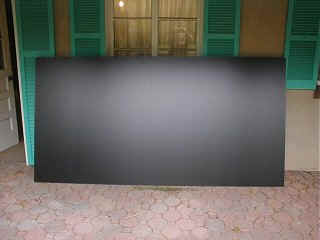
Next, it was time to get the material for the cabinet. After a bit of research, I found the company that supplies Atari with their cabinet materials. Luck for me, they were located a 1/2 hour from where I live. Now this is where I made a crucial decision. Centuri made some Phoenix cabinets with wood grain fronts and some with black (painted) fronts. In my opinion, the black looks so much better. The background on the side art is black as well, so I decided to make the entire machine out of all black material. While this is not original, it looks the way it should have, so shoot me. I purchased three 8'X4' two sided black Melamine sheets. For $30.00 a sheet, not too bad.
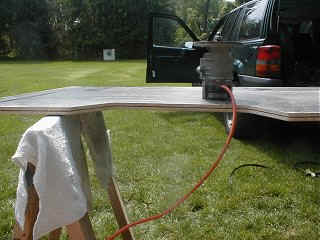
Next step was to set up a couple saw horses (wrapped in towels to avoid any scratching) and begin the tracing. I laid the original side on the sheet and traced around the edges with a white wax marker.
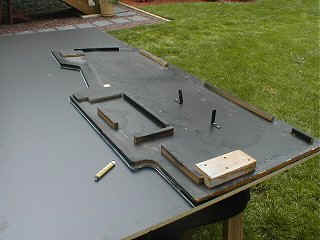
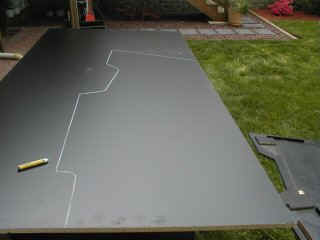
Now comes the fun part, cut it out. This material is a real pain to cut. I cut outside the lines with intent of sanding it to exact size. After cutting out both sides, I clamped both pieces to the original and a post. I used a t-square to ensure a 90 degree angle. Then I used a belt sander to exactly match both sides to the original. This method worked out really well, it also ensured that both sides of the cabinet were identical.

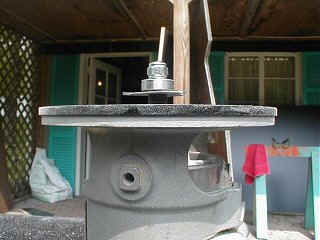
Next, it was time to route a channel for the molding. Setting up the router took a bit of patience and quite a few pieces of scrap material to get it right. It was really good to have a piece of the molding handy to make sure the groove was dead center. The groove was cut with a special channel cutting bit that matched the molding to be used.
I simply repeated the process for the rest of the pieces of the project. All the pieces of the machine were traced and carefully duplicated, interior and exterior. After all the pieces were duplicated (I sat down and drank a lot of beer to celebrate) I began to mount the stoppers on the inside of the sides. Let me tell you, this is one tedious process of measuring, marking, drilling and mounting. Once the stoppers were all in place, then it was time to paint all the edges black. (I went a little overboard here, painting edges that can't be seen)
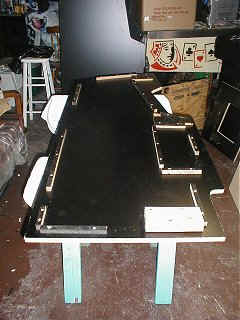
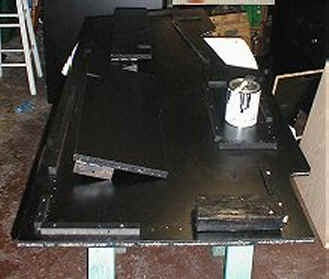
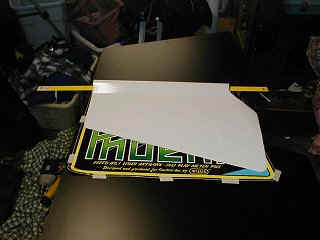
Once all the pieces were painted, it was assembly time! The original cabinet used carriage bolts that pierced through the side art. Obviously, this was not happening here. I bolted everything together from the inside leaving the outer surfaces smooth. I realize that this too is not original, but too bad, it looks really nice. Next I had to apply the side art. This was a nail biter! I began by laying the side art (which I had pressed flat for six weeks prior to the application to prevent curling) on the machine and I secured it in the correct position with drafting tape. Then I removed the drafting tape from the upper half of art...
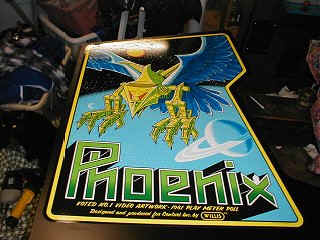
I rolled back the upper half and removed the wax paper backing. Using a straight edge to maintain a smooth point of contact, I (held my breath) carefully rolled the side art onto the cabinet. Then I removed the drafting tape from the lower half of the cabinet and repeated the process. It came out absolutely flawless. I flipped over the cabinet and did the same thing again.
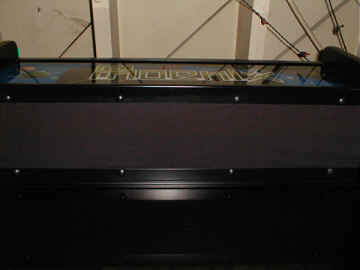
With the side art in place, the rest would be a lot of detail work, but easy. I replaced all the buttons with new leaf switch buttons. I stripped all of the metal trim work and coin door down to bare metal and repainted them. I covered the speaker grill with a black speaker cloth to give it a much cleaner appearance than the original panel that had a hole with an ugly metal grate.
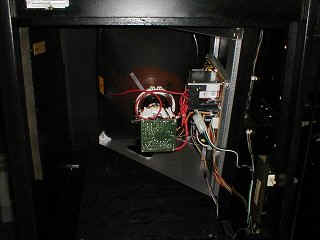
The work was completed with the installation of the wiring harness, board set, and a new 19" monitor.
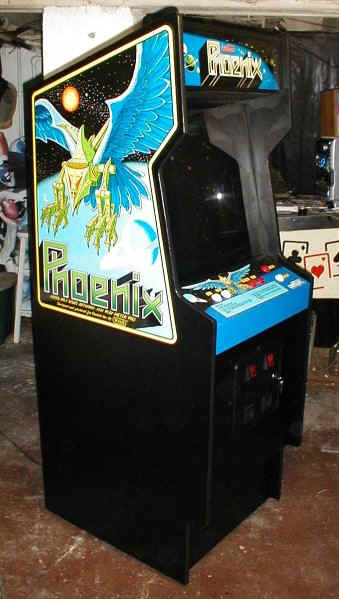
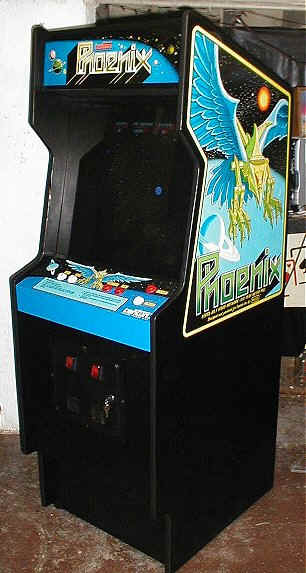
The final result:

![]()